Needle Felting
*
Needle Felting *


Needle felting is a craft technique that involves using specialized barbed needles to interlock wool fibers. By repeatedly stabbing the wool, the barbs catch the fibers and tangle them, compressing them into a solid structure. This method allows for the creation of shapes, textures, and intricate details without glue or sewing.
*Key Terms
Felting Needle
A felting needle is a long, slender needle specifically designed for felting wool. Unlike regular sewing needles, it has barbs along the shaft that help tangle the fibers together. Felting needles come in different gauges and shapes, allowing for versatility in shaping and detailing.


Barbs
Tiny notches called barbs line the sides of felting needles. These notches catch wool fibers as you push the needle in and out of the wool, pulling the fibers together to create a dense, interlocked structure. The number and arrangement of barbs affect how quickly and efficiently the needle works.
Core Wool
Core wool is a type of wool used to create the inner structure or base shape of a needle-felted project. It is typically less refined and less expensive than surface wool, as it won’t be visible in the finished piece.
Using core wool helps save time and money while building volume efficiently but isn’t always necessary, especially for smaller projects.
Surface Felting
Surface felting involves adding a thin layer of colored or finer wool to the exterior of a project.
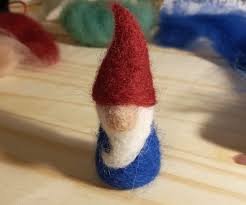
This technique is used to cover the core wool and create smooth, polished surfaces or intricate designs. It’s ideal for creating patterns, gradients, fine details, long animal coats, and loose gnome beards.

Blending
Blending is the process of mixing different colors or types of wool to create gradients, custom shades, or unique textures.
This is often done by hand or with hand carders. Blending allows for more realistic and artistic effects in needle-felted projects.
Stab/Poke
Stabbing is the fundamental motion in needle felting, where you repeatedly poke the wool with a felting needle.
The act of stabbing tangles the fibers and compresses the wool into the desired shape. Consistent, deliberate stabbing is key to achieving an even and firm structure.
Wire/Armature
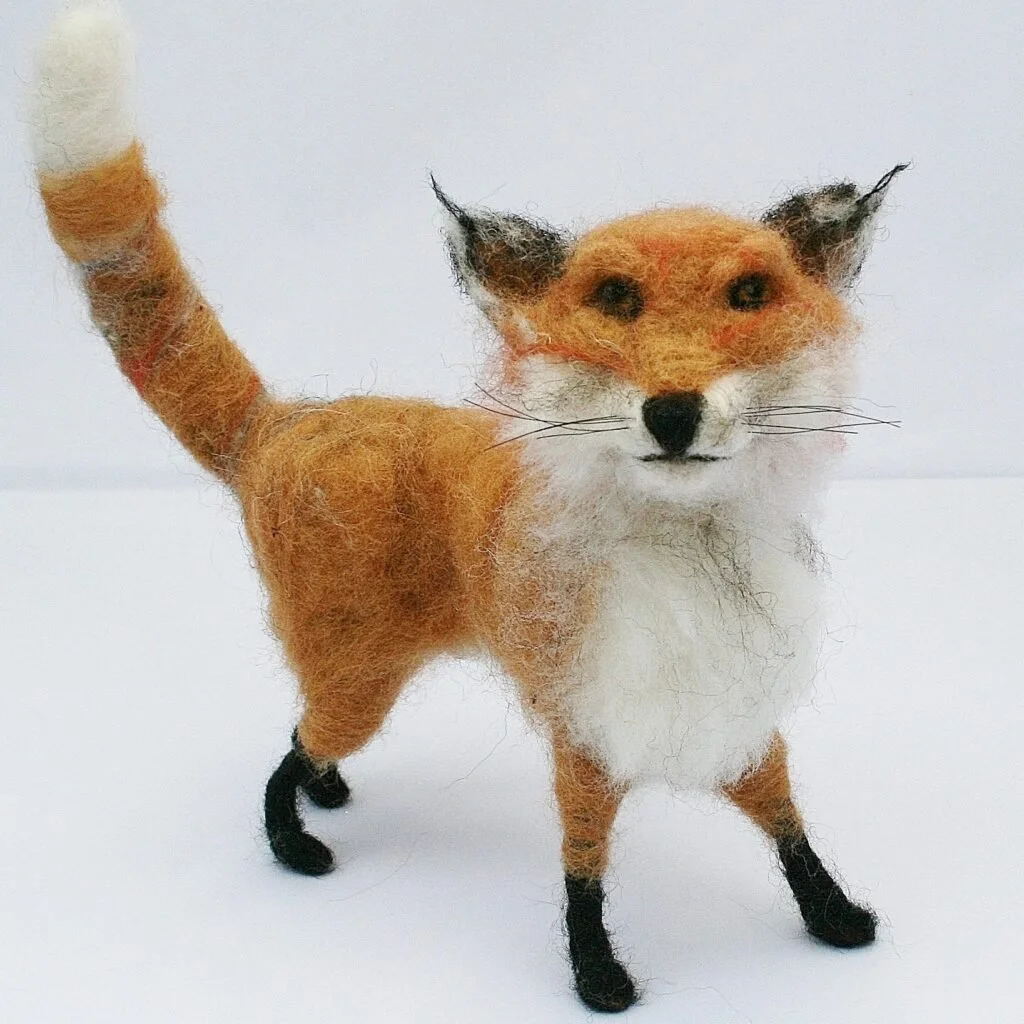
An armature is a skeleton-like framework, usually made of wire or pipe cleaners, used to provide structure and support to needle-felted sculptures. It allows for poseable pieces and ensures the project maintains its shape over time.
Needle felters often use armatures in animal or figure felting. However, wire is not necessary to produce amazing needle felted sculptures and I advise new felters to learn the basics before even considering using wire frames/armatures. Top Tip! You do not have to use wire in your projects to become an excellent needle felter.
Firmness
Firmness refers to the density of a needle-felted piece. Achieving the right level of firmness requires patience and consistent stabbing to compact the fibers thoroughly. This will result in a more solid and stable end result.
Felting Needle Safety
It’s really important to be careful with your fingers when you’re working on your needle felting project. As you hold and turn your creation, there’s a higher risk of accidentally stabbing your finger with the needle because it can easily poke through the wool. Always use a foam pad to help protect your fingers.
Also, remember to always push your needle straight in and out of the wool, no matter what angle you’re working from. This helps prevent the needle from breaking.
Protect Your Fingers: Use finger guards or thimbles to prevent needle pricks.
Proper Tool Handling: Use a felting pad, handle needles carefully, and store them securely.
Workspace Safety: Maintain a clutter-free workspace with good lighting and take regular breaks.
Needle Use: Use short stabs, keep needles at a 90-degree angle, and replace them regularly.
Additional Precautions: Store materials safely, especially around pets or children.
Needle Felting Project
Use the design thinking process to create a needle felting project of your choice. Some potential options include:
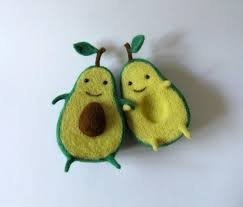
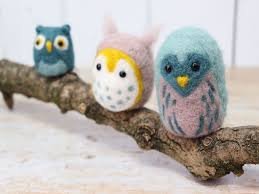
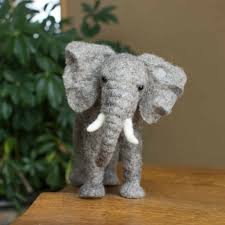
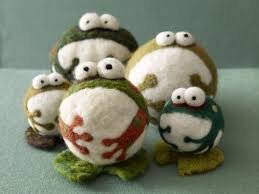
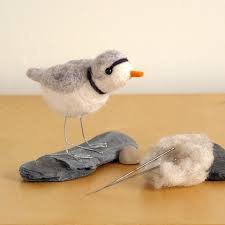
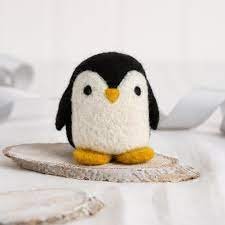
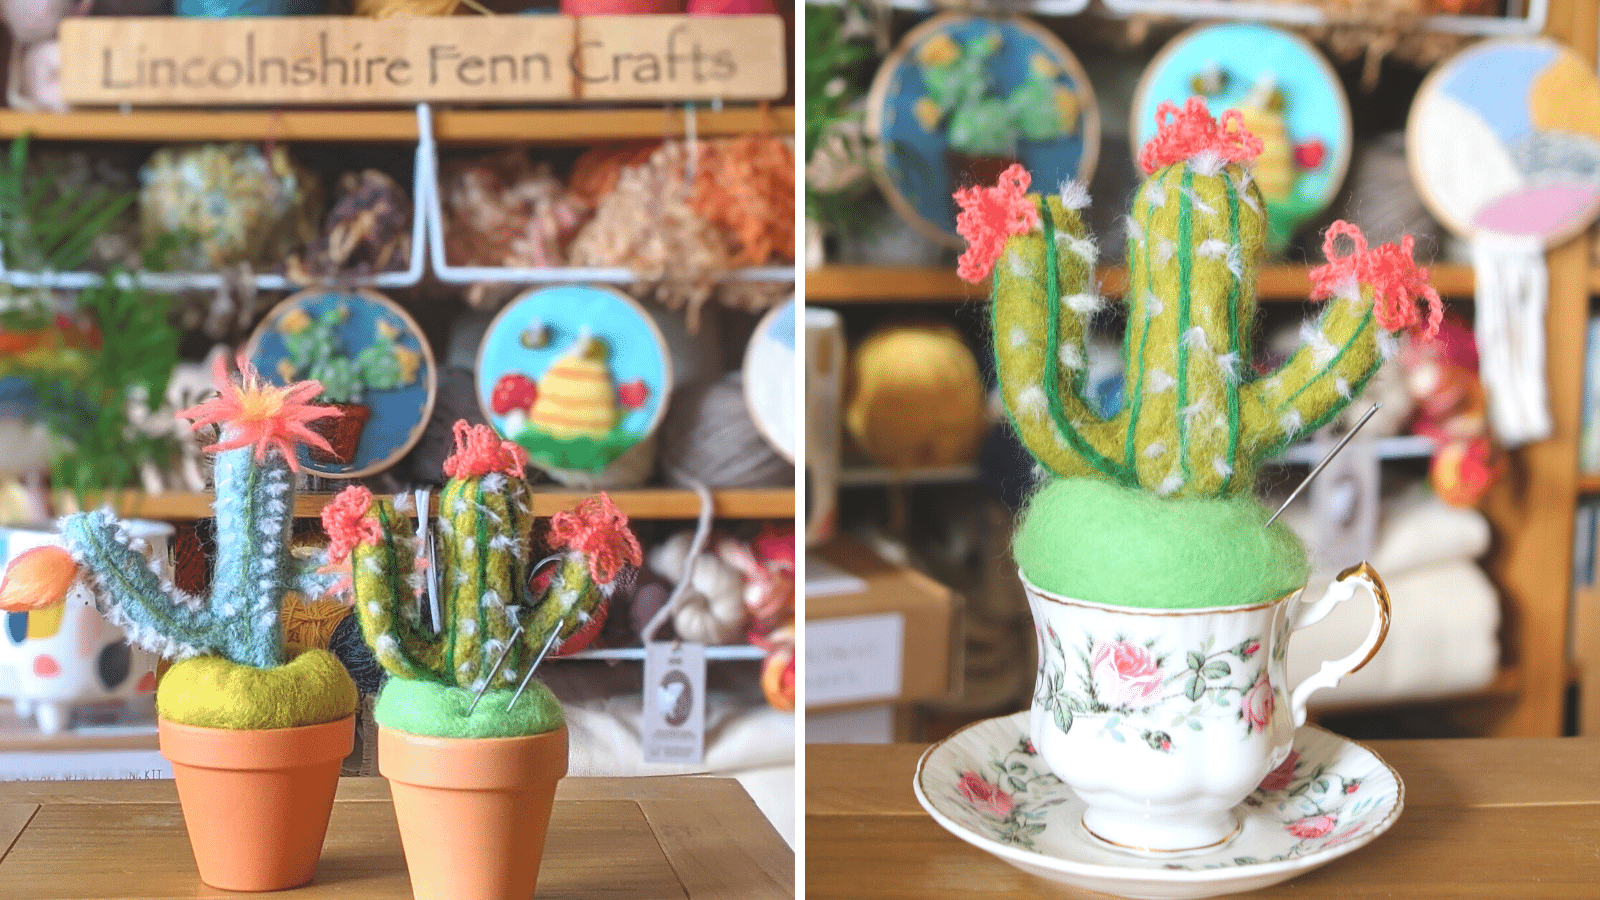
1) Needle Felted Sculpture
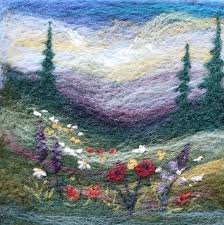
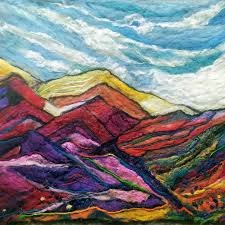
2) Needle Felted Painting
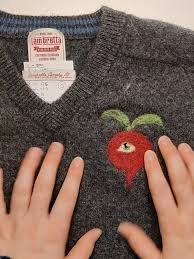
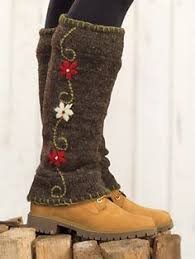
3) Needle Felted Clothing Item
Process:
Start by completing a Project Proposal paper. Select a project you will be able to complete in class time.
Next, conference with Ms. Nethery before you begin.
Use your class time to complete your project, making adjustments as necessary. Ask for help whenever you need it.
Submit a photo and your project, along with your reflection at the end of the unit.